How To EASILY Adjust Brakes On Golf Cart (Updated)
Wondering how to adjust brakes on golf cart? Just like any vehicle, safety is very important in driving a golf cart. If not properly handled a golf cart could also cause accidents, although not as serious as the accidents caused by bigger cars and trucks.
Nevertheless, you should also know how to safely drive and operate a golf cart. As in ordinary vehicles, golf carts have brakes. If you notice that the brakes are not functioning well, they need to be adjusted. Here are some of the ways by which you can adjust the brakes of different types of golf carts.
This is also part of the golf cart maintenance checklist that we’ve created.
A. When the golf cart’s brake pedal almost touches the floor
Before starting to adjust the brakes, prepare this set of tools:
- Adjustable wrench
- ¾ inch socket wrench
- 2 tons floor jack
- 4 bricks or blocks
Here are the steps in adjusting the brakes:
- Turn off the power of the golf cart, consider leaving the speaker on for some tunes. Don’t set its parking brake.
- Put the brick or blocks in front and behind each of the front wheel of the golf cart to prevent it from rolling.
- Get the floor jack into position at the rear of the golf cart. The two rear wheels should be lifted simultaneously off the ground.
- Use the socket wrench to loosen the lug nuts on the rear wheels. Remove the nuts and the wheels and set them aside.
- Remove the rubber boots on the underside of the wheels and the brake adjustment screw will be exposed. Pull these rubber boots away from the wheels by using your hands.
- Turn the adjustment screw in such a way that it is moving towards the wheel. This will cause the brake pads to move closer to the brake drum. You have corrected the brake adjustment if you feel that there is no more friction or resistance when you are turning the wheel by just using your hands.
- Put the rubber boots back, as well as the wheels and then tighten the lug nuts to secure them in place.
- Release the floor jack so that the golf cart wheels will again touch the floor. And then remove the bricks of blocks from the wheels in front.

of Callaway ERC Triple
Track Golf Balls for
yourself or your buddy!
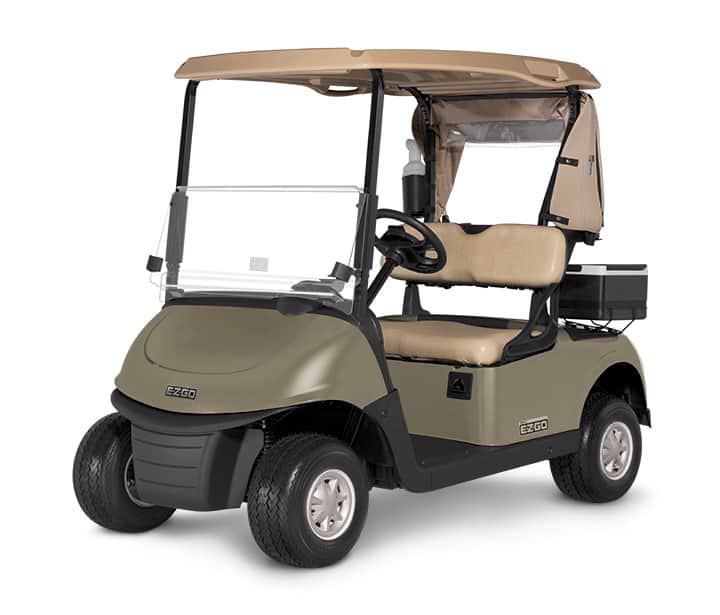
B. Adjusting the brakes on an E-Z-GO golf cart
The brakes in an E-Z-GO golf cart are automatically adjusted by its mechanical rear drum braking system depending on the wear of the brake shoe. This is done while the golf cart is running.
But if the wear of the brake shoe is extensive, this system will turn a star wheel or a notch that will push the shoe nearer the drums. The stopping force will be induced by the contact between the drums and the shoes. The steps in adjusting the brakes are as follows:
- Sit on the driver’s seat
- Run the golf cart and accelerate up to its full speed but ensure that you have enough road space.
- Once the cart is running full speed, step on the brakes. This should engage the braking system fully. Release the brake pedals before the cart comes to a full stop. The golf cart’s automatic braking system will adjust the brakes while the cart is still moving.
C. Adjusting the brake fluid travel
The gap or space that the pedal travels as it moves from its default position to the point when the brake cables starts to power the brake levers is called the brake fluid travel. It is important to adjust this distance of travel to make sure that the brakes are working properly.
If there is too much travel distance, the braking capacity or power of the golf cart will be reduced. But if the distance is too short, the brakes may not release fully. So adjustments are necessary in both cases.
You can adjust the brake fluid travel by loosening the nut and then rotating the spherical nut. The nuts need to be properly torqued at 10 to 11 ft.-lbs. or 14 – 15 Nm. The ideal setting for the brake fluid travel is from 7/8 inch to 1 and 1/8 inches or 2.2 to 2.9 cm.
And then you need to immediately energize the brake pedal from 4 to 6 times in order to get the actual fluid travel. Then perform a dynamic test by running the cart slowly and energizing the brakes hard and quick. Repeat 10 times more so that the brakes will adjust freely.
When finished, use the spherical nut to adjust the brake fluid travel. Having good brakes also help if you’re trying to make your golf cart street legal.
Run the cart again and brake hard and quick 10 more times. Check if the free travel of the fluid is not changing during braking. If it changes, continue the adjustments on the spherical nut and continue the test runs. In addition, you should also check if the clevis pins located at the end of the brake cables and levers are loose.

and apparel.
gear, accessories and apparel. (affiliate link)
D. Adjusting the brakes of old style golf carts
If in case you are using some of the old style golf carts, here are some tips on how to adjust their brakes. Before starting the brake adjustment, disconnect the battery or the battery pack of the golf cart and prepare the necessary tools such as floor jack, bricks or blocks, wrench and so forth.
Some of the old style golf carts may have run/low switches. These switches should be shifted to the tow position before disconnecting their battery packs. Lift the back of the golf cart and put the floor jack in a secure section of the cart which should provide it a stable support.
Before starting the brake adjustment, it will be advisable for you to have a checklist on the steps that you need to take since there are several steps that you need to perform. Here are the steps in adjusting the brakes.
- Remove the wheel assemblies on both wheels
- Release the parking brake of the brake pedal
- Back off the adjusting rod of the brake cable so that there will be no tension along the arm of the shoe lever
- Remove the brake drum
There are some old models where they may require the removal of keeper clips on their wheel studs. In addition, it may also be required in some old models for the backing off of the brake adjuster in order that the drum could be removed.
There are also some models which use axle nuts that hold their drums in place. If this is the model you are working on, keep the cotter pin which may be used later.
- When the brake shoes and the backing plate are already exposed, check if the shoes are worn out, if there is any debris or there is poor fitting on the brake drums.
But before taking the next step, you may want to wear a respiratory mask or device to give your lungs protection from inhaling dangerous fumes.
- Using light air pressure, blow the dust or debris from the brake shoes as well as the backing plate. Clean the drum as well. You may use a cleaning solution such as a brake cleaner for cleaning but avoid inhaling it.
- Once the shoes, the plates and the drum are clean, start adjusting the brakes.
If the brakes are self-adjusting, they should turn and slide on and off freely with no resistance at all. But if they are too tight, back off the drum as well as the star adjuster until it turns 360 degrees without slowing into a stop. If this happens, the shoe will begin to self-adjust under ordinary operation conditions.
But if the drum is loose, it is necessary to tighten the shoes and then to back off to induce free movement.
If the brake shoes are adjusted manually, you need to return the drum to the axle. Then turn the star or adjuster screw until the drum is locked up. After which, you have to back the adjuster off about 3 to 5 clicks which should induce the drum to turn freely.
- Return the ties back on their places and torque the lugs to about 50 ft.lbs.
- Adjust the height of the brake pedal. Be careful not to confuse this with the adjustment of the brake shoes. While you are pushing the pedal, you should notice that there will be from 2 to 3 clicks or about ¾ to one inch of free play. If you can’t feel this extent of travel, adjust the rod for cable adjustment that you have released in step number three.
- After doing this, connect the battery of the golf cart.
- Return the tow switch back to its run position if necessary.
- Lower the golf cart to the floor.
- Start test driving the car to see if the brakes are correctly adjusted. Do it in a safe area where no one will be bothered.
- There should be no more problems with the brakes if you have followed the steps in adjusting them properly.
- If there are still some issues, try reviewing the steps by consulting your checklist at the start to determine if you have not overlooked one of them.