How to Get Tee Marks Off My Driver? (EASILY)
I recently stared in horror at my golf club driver. It was filled with scuff marks and deep scratches.
Luckily, removing tee marks from a driver is very easy. Typically, you will need a bucket of water, a detergent, and a clean cloth to dampen it to your driver.
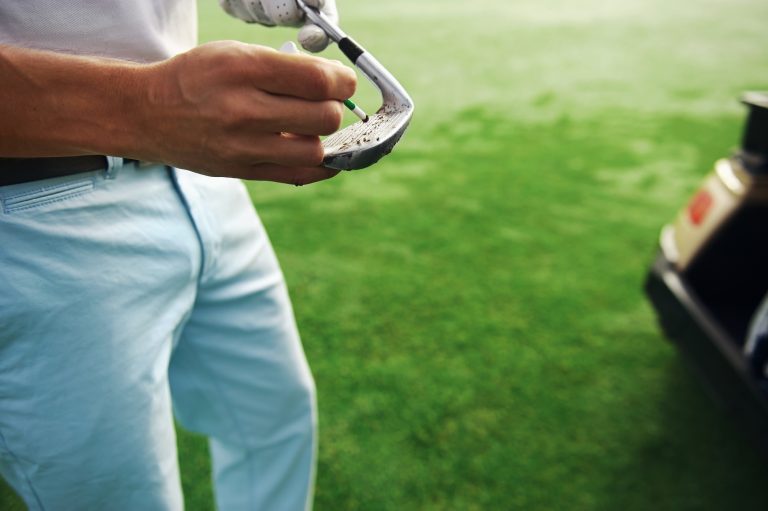
Tees are essential for most golfers because they elevate the golf ball, enabling us to hit that sweet spot and improve our angle of attack. However, we often hit the ball with the tee, resulting in tee marks on the club. Here’s how to clean them.
How to get the marks off my driver?
Cleaning the driver is essential to your regular maintenance routine because that equipment has to be in top shape for the perfect shot. Knowing how to go about it is, therefore, crucial to the success of your career.
What you will need:
- Lint-free cloth (for wooden drivers)
- Damp Microfiber cloth
- Towel
- Bucket
- Mild dishwashing detergent
- Warm water
- Double-edged club cleaning brush (or old toothbrush)
- Depending on the material, you may use or avoid using harsh scrubbers that can quickly damage your driver during the cleaning process.

Follow the following simple steps:
Step 1: Determine Driver Material
Sort out your drivers based on material, especially if you own several pieces. Titanium, wood, and metal drivers are available, each with a different cleaning procedure. It will also give you an easy time cleaning them one by one.
Step 2: Fill Your Bucket
Add warm water to the bucket and the mild pea-size dishwashing liquid soap. Stir until the two are properly mixed and have enough foam.
Step 3: Brush
Dip the brush in soapy water for a short time. This makes it wet enough for cleaning but not soggy and dripping.
Step 4: Scrub
Use the wet brush to scrub the top surface of the drivers gently. Continue rubbing on the tee marks until they dissolve and disappear.
Step 5: Avoid Scratching
For stubborn tee stains on metallic surfaces, especially on metal parts like the driver’s face, use the brass bristle side of the bristle. However, be careful not to cause scratching while trying to get rid of the tee marks.
Step 6: Dry
When you can no longer see the colorful marks, wipe off the drivers’ surfaces using a towel.
You need a professional golf cleaning double-edged brush specially designed for scrubbing dirt and tee marks from the golf clubs. It features brass bristles on one side and soft bristles on the other. An old toothbrush will work just fine if you cannot find a specialized brush.
Be extra careful when using the brass side to avoid going beyond the metallic driver’s face and scratching the painted area. You don’t want a clean but ugly-looking driver after this.
These steps work for most metallic golf clubs. Let’s now look at how to remove tee marks from wooden drivers.


of Callaway ERC Triple
Track Golf Balls for
yourself or your buddy!
How to Remove Tee Marks from Wooden Drivers
Wooden drivers have been around since the invention of modern-day golf in 15th-century Scotland. Although the technology has improved, and the wooden tees keep improving and becoming more robust, a rigid driver still needs special care. Here is a step-by-step process on how to go about it;
Step 1: Dampen Cloth
Put linen or lint-free cloth in a bucket of warm water. Keep it submerged as it soaks water for some time.
Step 2: Wash
Pull out the cloth and squeeze it enough to get rid of excess water, but leave it damp.
Step 3: Scrub
Hold the wooden surface in your hands and gently scrub the unsightly tee marks using the damp cloth. Keep sponging and gently scrubbing to dissolve the paint on the wooden surface.
Step 4: Wipe Off
Once every mark dissolves, wipe off the driver’s surface using a towel.
It would be best to take a few safety precautions when cleaning a wooden driver.
Never wash, scrub with a brush, or clean it with soapy water to avoid degrading the material.
Additionally, never soak the wooden golf club in water because wood is porous and can absorb water, making it soft and useless for golfing.
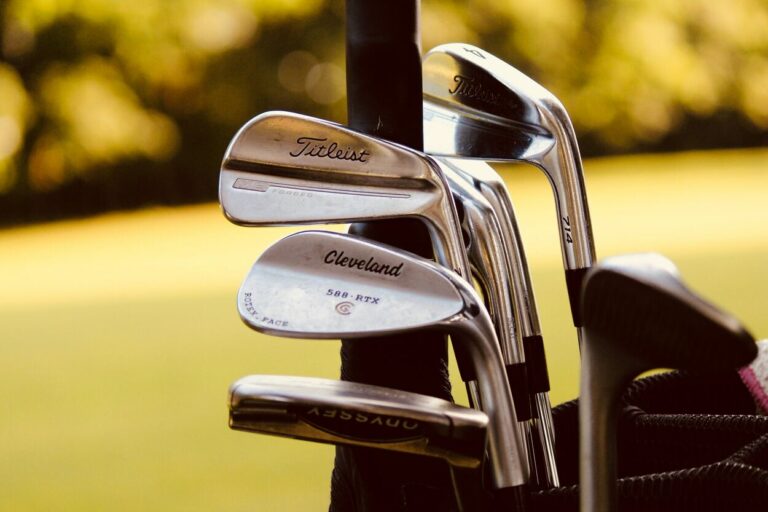
How Can I Clean My Driver Face?
The driver’s face is usually on the clubhead and composed of metal. The driver’s face and the whole head often come into contact with the ball, tees, grass, and sometimes mud.
Below, I explain how to clean the driver’s face and the whole club head.
| How Can I Clean My Driver Face? | |
| Fill your bucket | Put the clubs in a bucket and fill it with warm water to cover the club heads. I insist on warm water because hot water can loosen the ferrules, the part that joins the shaft and the clubhead. |
| Add Soap | Put 2-3 teaspoons of mild soap or liquid dishwashing liquid into the bucket of water. Leave the club heads submerged in the soapy mixture for at least 5 or ten minutes. Submerging loosens the dirt and tee marks, ensuring you have an easy time in the next step. Excessively dirty or muddy iron clubs will need a soaking not exceeding 20 minutes. |
| Scrub | Scrub the crib heads one by one using a soft bristle brush or an old toothbrush to get rid of the remaining stains. Ensure you reach every nook and cranny, including the sole, the face, and the back, taking your time in each groove. Failure to clean every groove properly might negatively affect your next tournament. |
| Rinse | After scrubbing, run the club heads under warm water for rinsing, not getting the golf club shafts wet. Water should only touch the metallic club head. |
| Dry | Wipe Off |
| Add Polish | Some people go the extra mile of applying a bit of chrome or steel polish. Apply a small portion and gently rub the club head in circular motions, then leave to rest. This leaves your club heads as good as new. Lastly, ensure you eliminate any traces of grease or polish from the clubhead. |
To make your club head look new, apply a little steel or chrome polish, wipe it in light circular motions, and let it sit for a minute.

and apparel.
gear, accessories and apparel. (affiliate link)
Do Plastic or Wooden Tees Damage Drivers?
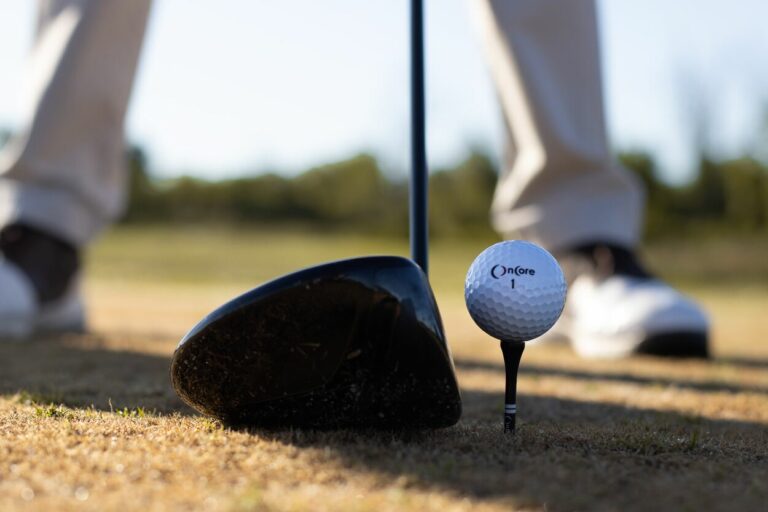
Not really. In fact, they keep the head of your driver from damage by stopping the club from hitting the rest of the tee. This is an improvement from the wooden tee.
Wooden and bamboo tees have been used for the longest time, but plastic tees are the newest thing in town. Most professional golfers don’t like using them unless specific brands have sponsored them.
Advantages of Plastic Tees
Plastic tees can break easily compared to their wooden counterparts, reducing resistance and damage to the club head. You can think of it as similar to how trees sway in the wind but don’t break. Since they don’t break easily, they are becoming increasingly popular with modern golfers who want something that can last an average day of action on the gold course.
Plastic tees also come in more colors than wooden tees for easy spotting on the golf course. Moreover, you can get zero friction variants with a three-prong head to support the ball. This way, the surface area between the ball and the tee is significantly reduced, reducing friction when the golf club hits the ball.
Disadvantages of Plastic Tees
The main plastic tee drawback is the loss of flexibility with use. Although manufactured with durable plastic, plastic tees easily bend due to multiple hits with a heavy golf club and lose their strength. It takes much more time trying to straighten them than you will use to aim your shot.
Lastly, some critics argue plastic tees are too soft to hammer to the ground. When plastic tees are old and worn out, they pollute the environment because plastic is non-biodegradable.
Does toothpaste clean golf clubs?
Absolutely. Toothpaste is a good remedy for dish soap or detergent soap that you can use for your golf club. Trying a more foamy toothpaste would help you enjoy brushing your golf club to clean it.
Conclusion
Even if there are a lot of good golf drivers out there, it would still come out to how fast, hard, and long you can hit to enjoy the goodness of your golf club. Moreover, proper cleaning will always be essential for your golf club to last long.
Want more golf club cleaning tips? Read here: How To Clean Golf Clubs (Little-Known Hacks)