Golf Cart Wraps: How to Customize Your Golf Cart (with Video)
From what I have seen, private golf cart ownership in the United States has soared over the past decade.
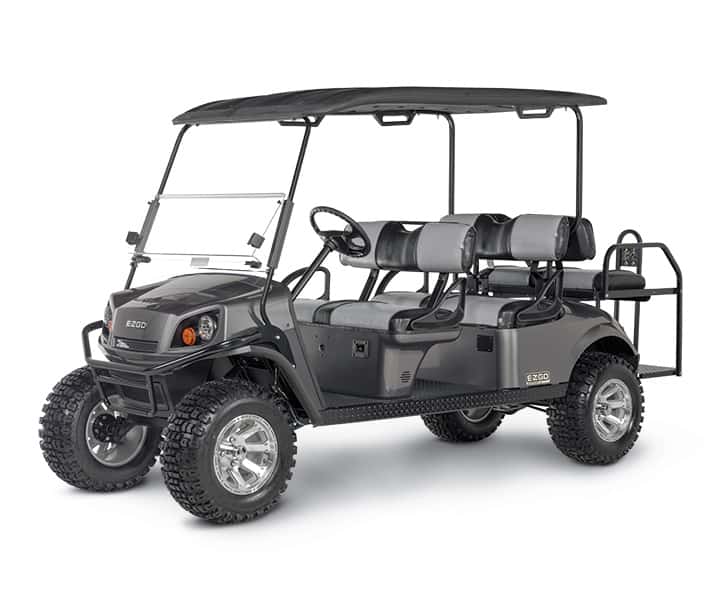
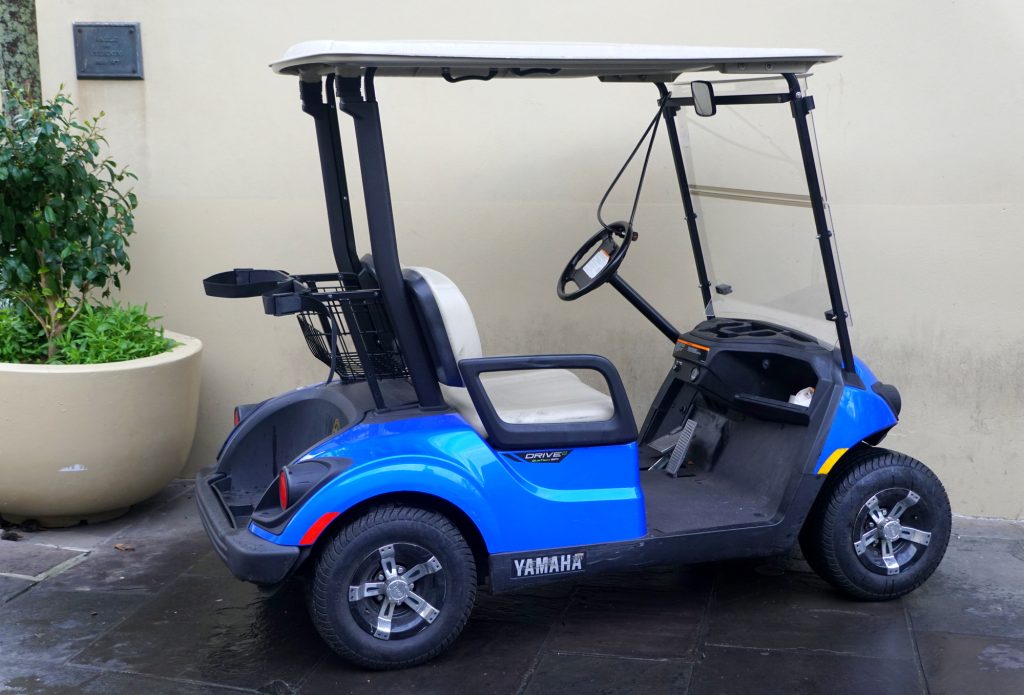
And when you live in a community where seemingly a lot of other people, other than myself, that own carts, it makes me feel good to customize my golf cart with wraps like the ones below.
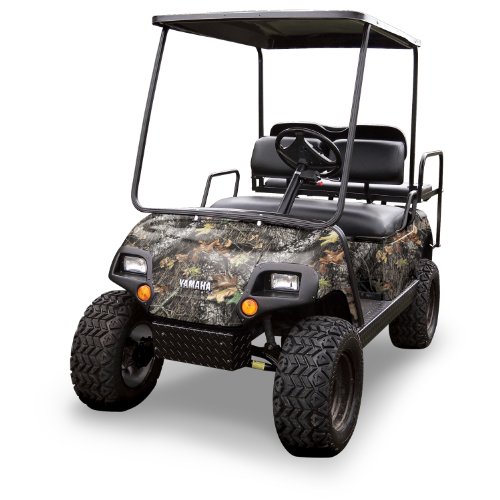
- EASY TO INSTALL.
NO FADE FOR 5 YEARS.
HIGH QUALITY 3M CAST VINYL.
REMOVABLE.
CONFORMABILITY.
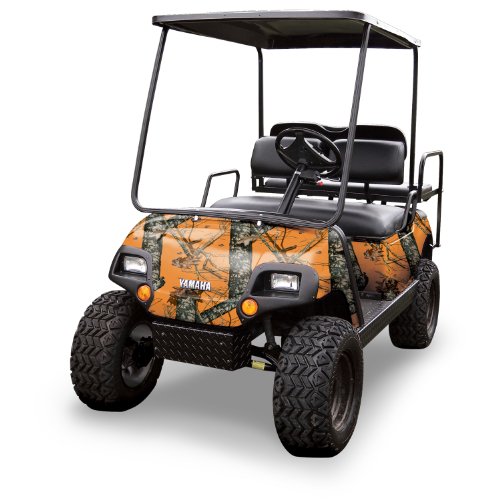
- EASY TO INSTALL.
- NO FADE FOR 5 YEARS. Our 3M MCS
- HIGH QUALITY 3M CAST VINYL.
- REMOVABLE.
- CONFORMABILITY.
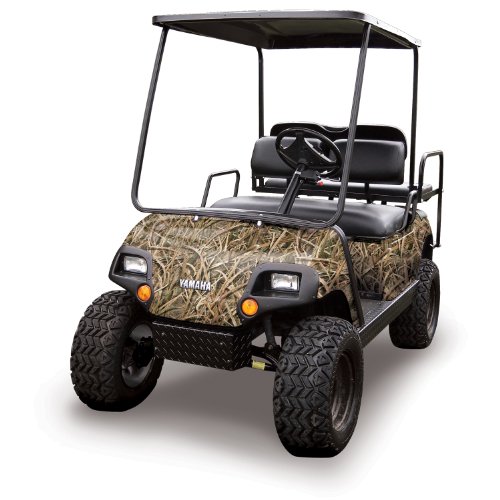
- EASY TO INSTALL.
- NO FADE FOR 5 YEARS. Our 3M MCS
- HIGH QUALITY 3M CAST VINYL. REMOVABLE.
- CONFORMABILITY.
So how to make my golf cart stand out from the rest?
Much like a Tesla, you can save hundreds, if not thousands, by skipping an expensive paint job or a custom-made body, and going with a better solution to wrap your golf cart. Also known as golf cart skins, these wraps are similar to those used on city buses, company cars, and trucks.
You can now wrap your own golf cart in a customized skin for a fraction of the cost of a new paint job. Even better is the fact that you can do it yourself.
You don’t need to be a professional auto body specialist to give your golf cart a whole new look in just a couple of hours. Skinning your cart is fast, easy, and virtually mess-free.
5 Reasons Golf Cart Wraps Are the Way to Go
Lest you think wrapping a golf cart is just a passing fancy, know that there are entire companies built around the concept. They make custom skins for a full range of golf cart makes and models. If skinning were just a fad, there wouldn’t be so many companies making wraps and kits.
With that out of the way, here are five great reasons to consider wrapping your golf cart in a custom skin:
1. It’s Easier Than Painting
Perhaps your golf cart looks old and worn. Over the years it has accumulated its fair share of scratches, nicks, scuffs, and fading.
While you could send it in for a new paint job, wrapping it in a customized skin is a lot easier. Skinning doesn’t take nearly as much time either.
2. Wrapping Is Affordable
They range in price from less than $200 to upwards of $400. That means they are very affordable as compared to paint jobs and custom bodies.
You don’t have to spend thousands of dollars to improve the look of your cart when just a few hundred will do.
3. Applying a Wrap Is Easy
Applying a golf cart wrap is pretty easy. If you can use a hair dryer and a few basic hand tools, you can wrap your own cart in just a couple of hours. The job will be even easier if you enlist the help of a friend.

4. Wraps Are Removable
Wraps for all kinds of vehicles are made of vinyl. The combination of heat and a gentle adhesive allows the film to bond to the surface of the golf cart. But that bond isn’t necessarily permanent. You can remove the wrap just by heating it with a hair dryer and peeling it off.
That’s right, the wraps are removable. If you don’t like what it looks like a few years down the road, the film will come right off.
5. An Endless Choice of Looks
Wrap manufactures offer so many different looks that it might be hard for you to choose. Do you like the stars and stripes of the American flag?
There are plenty of wraps reminiscent of Old Glory. Or maybe you want to customize your cart in honor of your favorite sports franchise.
Whatever tickles your fancy, there’s probably a skin out there for your golf cart.
of Callaway ERC Triple
Track Golf Balls for
yourself or your buddy!
How to Skin Your Golf Cart
Golf cart skins are pretty easy to install. All it takes is a little time and some attention to detail.
- To start, you’re going to want to remove a couple of things that would otherwise get in the way.
- Remove the roof, front windshield, seat, and anything on the back of the cart that prevents you from fully accessing the body.
- Next, wash and dry the cart thoroughly. Make sure that the entire surface of the body is free of grease, dirt, and any other contaminants that might interfere with bonding.
- You might need a bit of rubbing alcohol or degreaser for more stubborn spots.
Now you’re ready to begin installation. Here is a list of the tools you’re going to need:
- A razor blade or hobby knife.
- A hair dryer or heat gun.
- A plastic putty knife or small squeegee.
- A bucket of warm, soapy water.
Choose a location on the golf cart to start the skinning process. A lot of experts recommend the front area just underneath the seat. Why? Because this is a flat, straight surface on which you can practice your application techniques.
The cowl would be a more difficult place to start because it isn’t flat.
If you ordered a kit designed specifically for your cart, the various panels should already be cut to size. Otherwise, you’ll have to cut the panels as you need them.
Grab your first panel and fit it over the space it is designed for while leaving the backing paper intact. You just want to size up the panel before you actually install it.
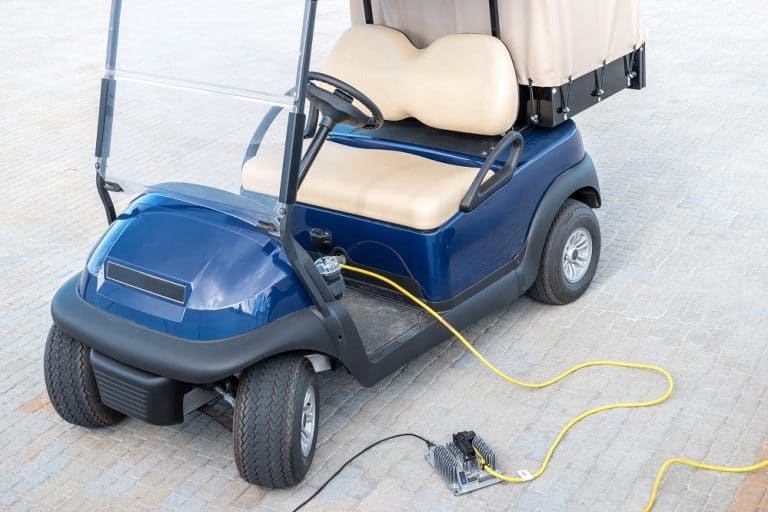
If you’re starting on the area just below the front of the seat, you’ll want to mark where the film will cover the charging socket. Don’t cut the hole just yet. Rather, you’re only marking its position to give yourself a good idea of where to place the film after removing the backing paper.
When you’re ready, remove the backing paper and position the film accordingly.
Having a friend help you makes the job easier. There is an adhesive on the back of the film that will help it adhere to the surface of the golf cart body temporarily.
The nice thing is that you can peel and reposition the film as often as you need to. Once you are satisfied with its position, grab your hair dryer.
Choose a point near the center of the panel to begin applying heat.
Move toward the outside in one direction, pulling and smoothing the film as you go. Then repeat from the center out to the other side.
As you’re heating the film, you can use your plastic putty knife or squeegee to remove air bubbles and wrinkles. The soapy water might make things easier by reducing the friction between the putty knife and film.
If the film runs around the front of the body panel, you’ll need to use your razor blade or hobby knife to cut the corners at the top. Then fold over the material and heat it to ensure it bonds together. That’s it.
Now just repeat the process with all the other panels in your kit.
Always Follow the Instructions and Cautions
What you have read here is intended to be just a general guideline based on how most of the popular wrap kits work. Our description of wrap installation should not be taken as gospel. Rather, do what most men are accused of not doing: follow the instructions that come with your kit. The people who made your golf cart skin know how to install it better than we do.
For example, don’t use a plastic putty knife if your kit includes a small widget for removing air bubbles and creases. Do what the kit makers suggest by using that widget. They may have included it because a plastic putty knife could harm the wrap.
The instructions included with some wrap kits warn consumers to not use heat guns. Heed such a warning. We recommend sticking with a hair dryer unless you have extensive experience with heat guns. Applying too much heat to your wrap could damage it irreparably.
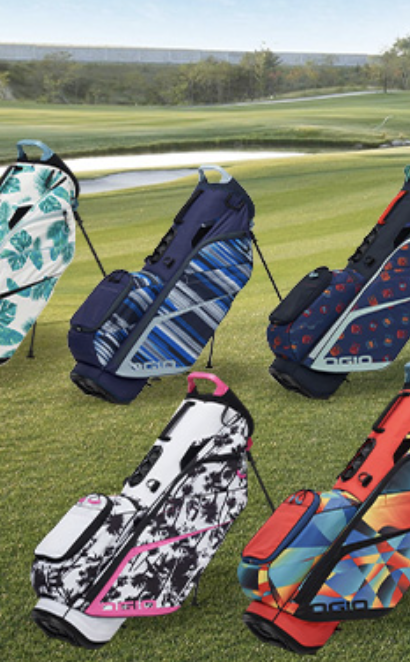
and apparel.
gear, accessories and apparel. (affiliate link)
Final Thoughts
You should now have a better understanding of just how easy it is to customize your golf cart.
There are plenty of golf cart skins you can get right here on Amazon for a fraction of the cost of a paint job or new body.
Skinning is affordable, easy, and actually, a lot of fun to adhere to your cart and drive once installed.
And when you’re done, you’ll have a brand-new look you’ll be proud to show off in the neighborhood.